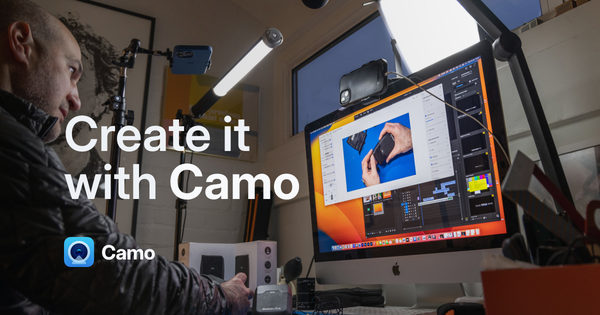
Scenes are a core aspect of the Camo Studio workflow, allowing for combinations of layers, camera settings, adjustments and effects to be configured and saved for whenever they’re needed. You’ll find your scenes in the right sidebar, ready to use at a moments notice, and in the Gallery – where you can organise and categorise them however you wish.
The app comes with a set of default scenes suitable for a variety of uses, such as for work meetings, testing out your first stream, or making a quick recording. Many of these include layers that can be customised with your information via the Personalise feature; simply input details like your name, location and logo, and your scenes will automatically update to present them.

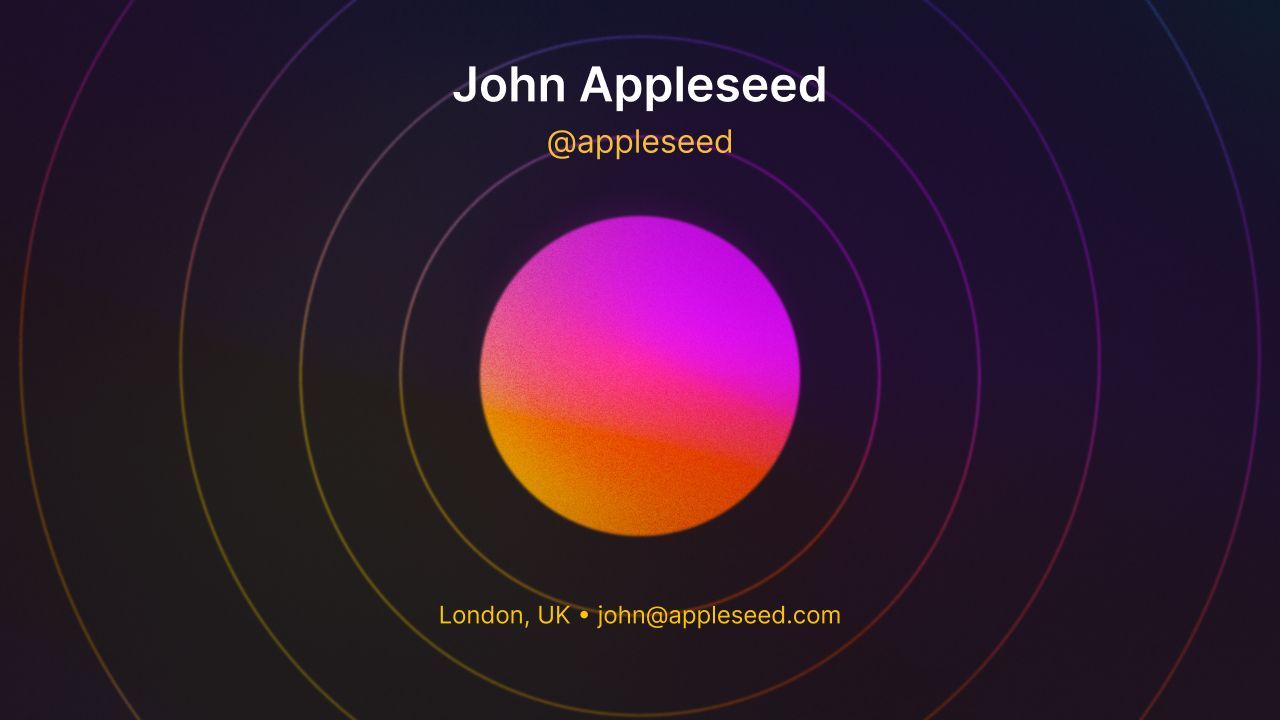
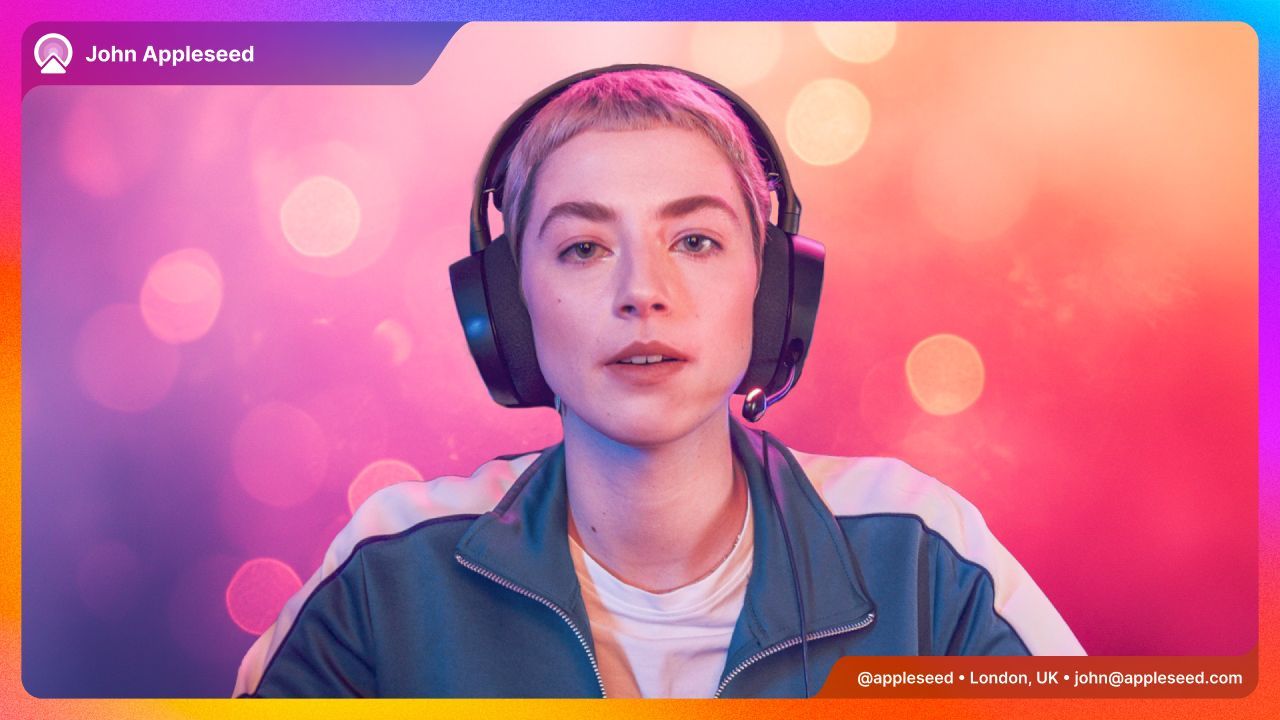
Some of the default scenes available in Camo Studio.
You can modify scenes via the Scene Editor below, in case you'd like to make some adjustments to the ones provided, or create your own set from scratch.
Personalise
Personalise is the fastest way to make your video yours. The details you use will automatically populate the corresponding values in your scenes, such as including your name or company logo, giving your audience helpful information and helping you look more professional.
You’ll be prompted to set up Personalise as part of onboarding when you first launch the app, and can edit your details at any time via the Personalise pane – which is located in Settings on Windows, and in the Scene Gallery on macOS.
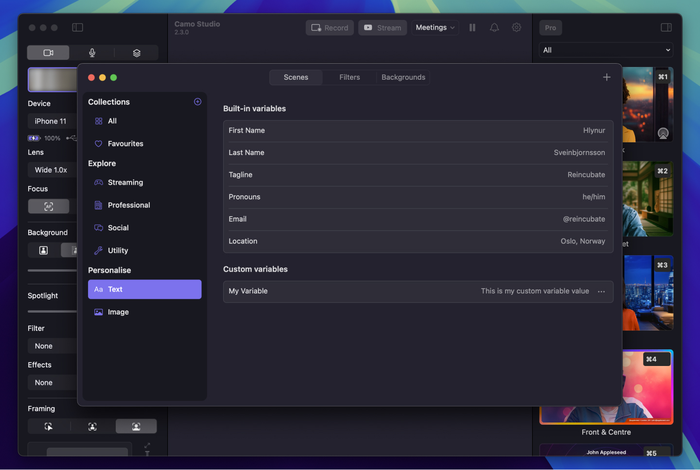
Automatically add your details to scenes using Personalise.
To use a Personalise variable in a scene, reference the variable name in curly braces and removing spaces. For example, the value for "First Name" can be used to populate a text layer in your scene like so: {{firstName}}; and if you’d like your last name too: {{firstName}} {{lastName}}
If you’d like to add even more information, you can extend the set of default Personalise variables with custom variables. Just give your variable a name, input a value and it’s ready to be used in a scene. For example, "My variable" can be referenced in a scene like so: {{myvariable}}
The Scene Gallery
At the top of the Scenes panel you’ll find a dropdown to jump between different scene collections, including your favourites and any others you’ve created, and open the Scene Gallery. The gallery helps you organise your scenes and collections, create new scenes by duplicating an existing one or by starting from scratch, and discover scenes bundled with the app via the Explore section.
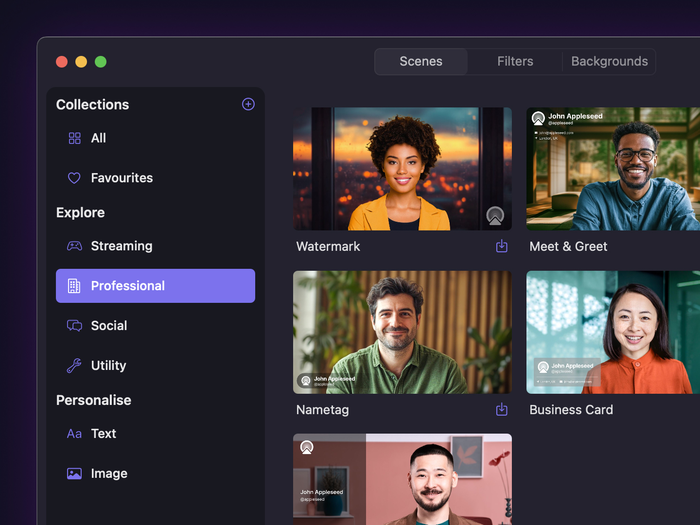
Find your new favourite scene in the Explore section of the gallery.
The Explore section comes loaded with a few different kinds of scenes, ranging from more informative, professionally minded layouts where information and clarity is key, to more expressive and colourful designs for those looking to add a twist to their video presence. There are also a few utility scenes, which can come in handy as alignments aides or for more subtle effects, such as Vignette.
You can switch between your top scenes without opening the gallery at all. On Windows, press Ctrl + 1 through Ctrl + 6. On macOS, press ⌘ Cmd + 1 through ⌘ Cmd + 9.
Organising your scenes — use the + button in the sidebar to add a new collection, and rename or delete collections by right-clicking on them. Move a scene between collections by right-clicking it and selecting Add to Collection, or remove it from one via Remove from Collection. Favourite a scene by hovering over it and clicking the heart-shaped button, or move it straight to the Favourites collection.
Previewing scenes before use — when you open the Scene Gallery, it takes a snapshot of your current video feed to use as a preview image throughout the gallery. Refresh this at any time using the button in the top-right corner of the gallery window — handy for getting a quick idea of how a scene will look without switching to it.
The Scene Editor
Scenes are built from layers — your camera feed, images, text, shapes, and more — stacked and arranged on a canvas. The Scene Editor is where you build and adjust them.
Select the right-most tab in the left sidebar to open the Scene Editor for your current scene, or create or edit a scene from the Scene Gallery above to open it automatically. The editor is split across both sidebars: the left sidebar manages your layer stack, and the right sidebar shows settings for whichever layer is selected.
The layer selector
The left sidebar shows:
- The scene name — to rename it, use the '...' menu next to the name and select Rename.
- An Export scene button, which saves the current scene as a
.camoscenefile. - An Add layer button, for adding any of the layer types below.
- Undo and Redo buttons for your edits.
- The layers list, showing every layer in the scene. Drag to reorder — layers higher in the list appear in front of layers below them where they overlap.
Right-click a layer for more options: Copy, Paste, Fill canvas, Lock aspect ratio, move it forward or backward (or straight to the front or back), hide it, rename it, duplicate it, or remove it. On macOS, layers can also be individually locked to prevent accidental changes; this option isn't currently available on Windows.
Left click to select a layer and adjust settings such as position, opacity, and rotation in the inspector on the right. To select multiple layers together, hold Ctrl or Shift and click on Windows, or ⌘ Cmd or ⇧ Shift on macOS.
Layer types
Click Add layer to choose from:
- Video Source — a feed from a connected camera. Shows a small camera icon and number in the layers list so you can tell which physical source it's using.
- Screen Capture — a shared app window, or your full screen. Shows the name and icon of whatever's being captured.
- Text — text with basic formatting, including support for Personalise variables like
{{firstName}}. - Image — an image file, also with variable support. Supports
.PNG,.JPG,.JPEG, and.BMP;.GIFfiles are imported as a single still frame rather than animating. - Rectangle and Ellipse — basic shapes. Windows calls the round shape "Ellipse"; on macOS it's called "Circle".
- Background — the base layer behind everything else, either a fixed colour or an image from the Backgrounds gallery. Every scene has one; it can be hidden but not removed.
A few additional layer types are currently macOS only:
- Web — renders a live web page as a layer, such as a YouTube video, a stream overlay, or a chat widget.
- Chat — displays a unified, merged stream chat on the canvas.
- Video File — plays a video file as a layer.
- Sandwich Scenes — a mode on a Video Source layer that splits your camera feed into separate foreground (you) and background layers, so you can place other layers between the two.